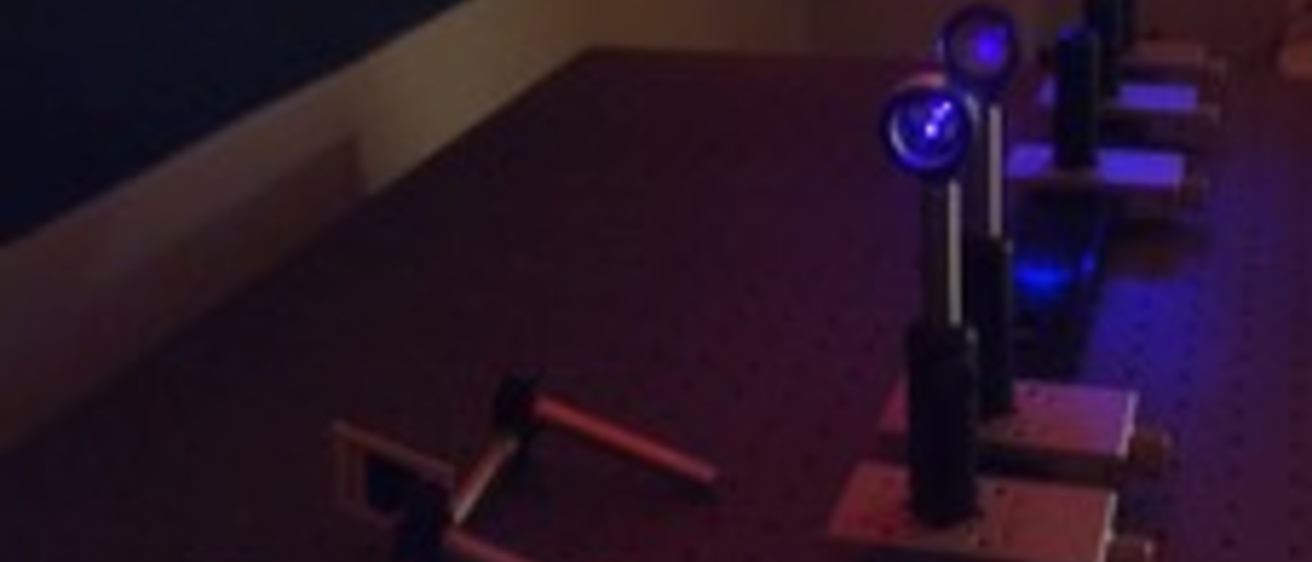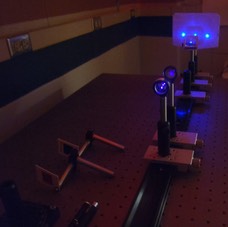
Your instructor will give you a brief introduction to the materials you will use. Performing the following steps will help you to complete the challenge in this section.

  1. Turn on the light source and notice where the focused beam of light falls on the paper screen. You should not need to move any of the lenses to improve the focus - ask your instructor for help if necessary.
  2. Place a mounted diffraction grating into the post between the last lens and the screen and describe what you see on  your worksheet.
  3. Turn off the light source and place the mounted laser in the empty post in front of the diffraction grating. Observe the effect on the screen, then do the same for the other two colored lasers.
  4.  Remove the light source and lasers and set them aside. Your instructor will give you one or more unknown gas samples to identify. Place the power supply containing the gas sample in front of the rail where the light source was.

Try to identify the gas sample(s) by noting the number and position of spectral lines you see and comparing with your results from Part 2. You may need to adjust the position of the source to see anything on the screen. It might help to create some sort of wavelength scale on the screen using some of the items you tested above. You may tape a card over the screen to make marks on if necessary.

When you have finished your work in the optics lab, return the equipment to the way it was set up when you came in.

NOTE: Exercise care when handing the power supplies containing the gas samples, being careful not to knock them off the table or jar them. The samples are in fragile glass tubes. Do not remove the masks and touch the tubes, as they become hot very quickly.

Hints:

  • The wavelengths of the lasers used in this experiment are 405 nm, 532 nm, and 655 nm.
  • You will probably need to turn off all the lights to clearly see the spectral lines from the gas samples.


optic bench

Your instructor will take you into the optics lab when it is your group's turn. You will see a bench in the optics room with various lenses and other hardware in sliding mounts. You should not need to move any of the sliding mounts in this portion of the lab - your instructor has set them in the proper positions ahead of time.