Breadcrumb
- Home
- Labs
- Foundational Labs
- Image Analysis II - Animation and Stacking
- Part 2: Determine the Motion of Comet Garradd
Part 2: Determine the Motion of Comet Garradd
Tutorials: FITS Header, Aligning and Animating Images, Stacking Images
In this section of the lab, we’re going to apply the skills developed in Part 1 to an astronomical object. The object of interest is the comet Garradd, which had a close approach with the Sun in 2011 and early 2012.

We won’t be making a false color image of the comet. Instead, we are going to use the images to determine how fast the comet was moving.
Exercises
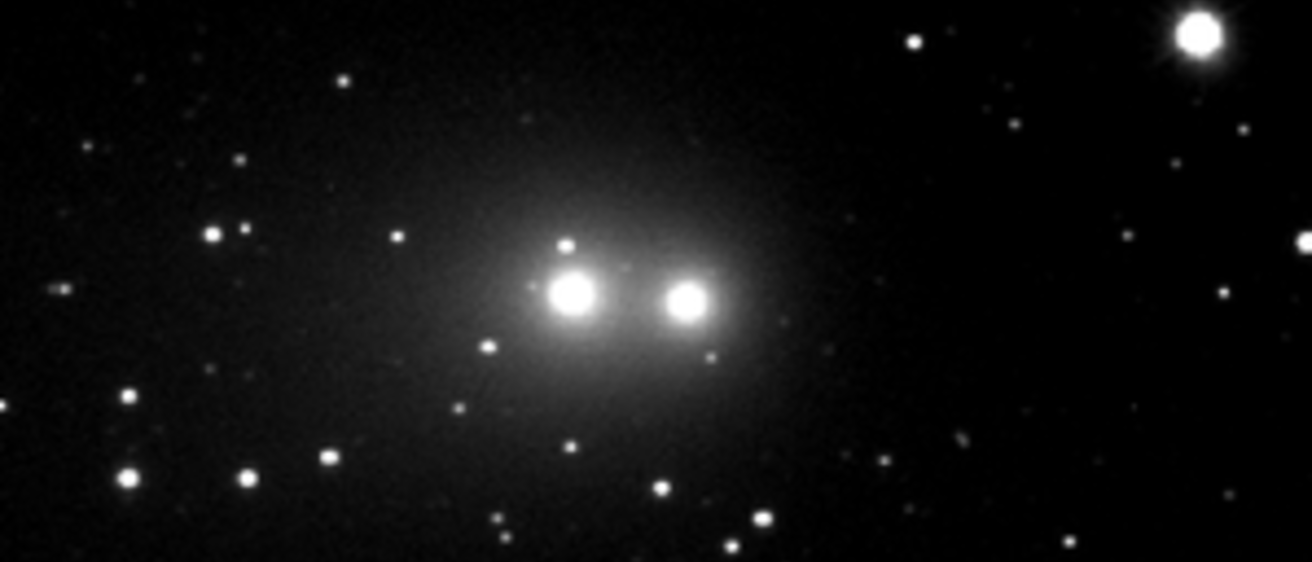
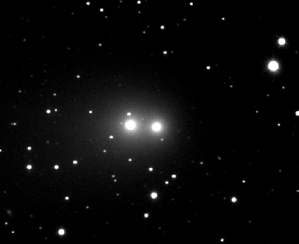
First, load the images garradd1.fts and garradd2.fts into MaxIm DL.
We eventually want to determine how fast the comet was traveling, but first we need to determine how much the comet moved between the two images. If you inspect the two images, you will notice that the background stars are not at the same pixel coordinates in both images, since the telescope was pointing at a slightly different point in the sky. You will have to align the images to account for the different pointings of the telescope. The Guidepost below will explain how to do this in MaxIm DL.
- Why is it important to align your images to the star field? If you’re unsure, try aligning your images using the comet and see what happens.
- What is the angular distance (in pixels) that the comet traveled from one image to the next? Record the horizontal (Δx) and vertical (Δy) shifts, as well as the total number of pixels traveled.
- If the comet was 2.7x10^11 meters away when the image was taken, how far did the comet travel in km between the two images? Note: The pixel scale for this image is 1" / pixel.
- If the time between the two images is 1 hour and 8 minutes, what is the speed of the comet in km / s?
- What assumption did you make when calculating the speed that might cause you to underestimate the true speed of the comet?
Guideposts
Aligning Images
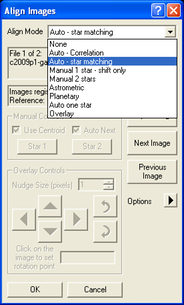
Maxim has a tool that can align images that are slightly offset from one another. SelectProcess -> Align from the menu. Select the names of the images you want to align and click on the right arrow to add them to the list, then click OK. The Align Images window will appear. Here, you have several Alignment Modes from which you can choose. For these particular images, 'Auto-star matching' works well. You can preview how well your Alignment Mode is working by selecting 'Overlay All Images' before you proceed. Once you've selected your Alignment Mode, click OK. Notice the background stars of both images are now mapped to identical (x,y) pixel coordinates.

Animating/Stacking Images
Once you have aligned images, you can animate them to see the motion of an object. This is useful when you are looking for a moving object that is hard to distinguish from background stars in a single image. You can also stack images, which is helpful if you are trying to measure how much an object moved between successive images. To perform these functions, select View -> Animate or Process -> Stack from the menu.
When was this image taken?
Astronomical images are usually in FITS format, which is essentially a bitmap (i.e. a large, uncompressed image) with a bunch of text attached that gives important information about the image such as when and how it was taken, where the telescope was pointing, etc. You can view this information by selecting View -> FITS Header Window from the menu. Some of the noteworthy pieces of information are: OBJECT - the name of the object the telescope was looking at; DATE-OBS - the date and time the picture was taken; EXPTIME, FILTER - the exposure time in seconds and filter used.